Let’s set the scene – morning sun streaming through the curtains, a day full of potential adventures looming, you stride purposefully to your prized vehicle, swing open the door – only to recoil in horror at the sight that greets you. Your beloved car’s plastic components, once shiny and vibrant, now look faded and worn. A dreadful sight, we can all agree. But guess what? There’s no need to despair! You are about to embark on a rewarding journey of rejuvenation, a process of restoring the plastic parts of your vehicle to their original pristine condition.
Whether you’re a casual vehicle owner or a die-hard automobile enthusiast with a penchant for hands-on restoration, learning the art of restoring vehicle plastics can add a spark of excitement to your everyday routine. Plus, it can be a great way to breathe new life into your reliable ride. The best part? It’s much simpler than you think, and all you need is a basic understanding of the different types of plastics used in vehicles, a little patience, and the necessary supplies. So strap in as we set off on this step-by-step guide to restoring vehicle plastics.
Decoding Your Vehicle Plastics
Every motor vehicle, from the most unassuming hatchback to the sleekest sports car, contains a host of plastic components. From bumpers, trimming, and dashboards, all the way down to more hidden internal parts, these elements can span a remarkable range of plastic varieties! As time progresses, these plastic parts can lose their shine due to exposure to harsh UV rays, weather conditions, and the occasional spilled coffee (we’ve all been there!). Understanding and identifying which plastics you’re dealing with is the first, crucial step in the restoration process. If it looks like plastic and feels like plastic, there’s a pretty strong chance you’ll be able to restore it using the methods we’re about to outline!
Getting Equipped
Before we dive headfirst into the restoration process, we need to ensure that you’re armed with all the right tools to make your car shine anew. Here’s the arsenal you’ll need:
- Plastic Cleaner: This is your first line of attack against dirt and grime. Be sure to opt for a product specifically formulated for automotive plastics. A good cleaner will not just banish the dirt but will prime the surface for the next steps in the restoration process.
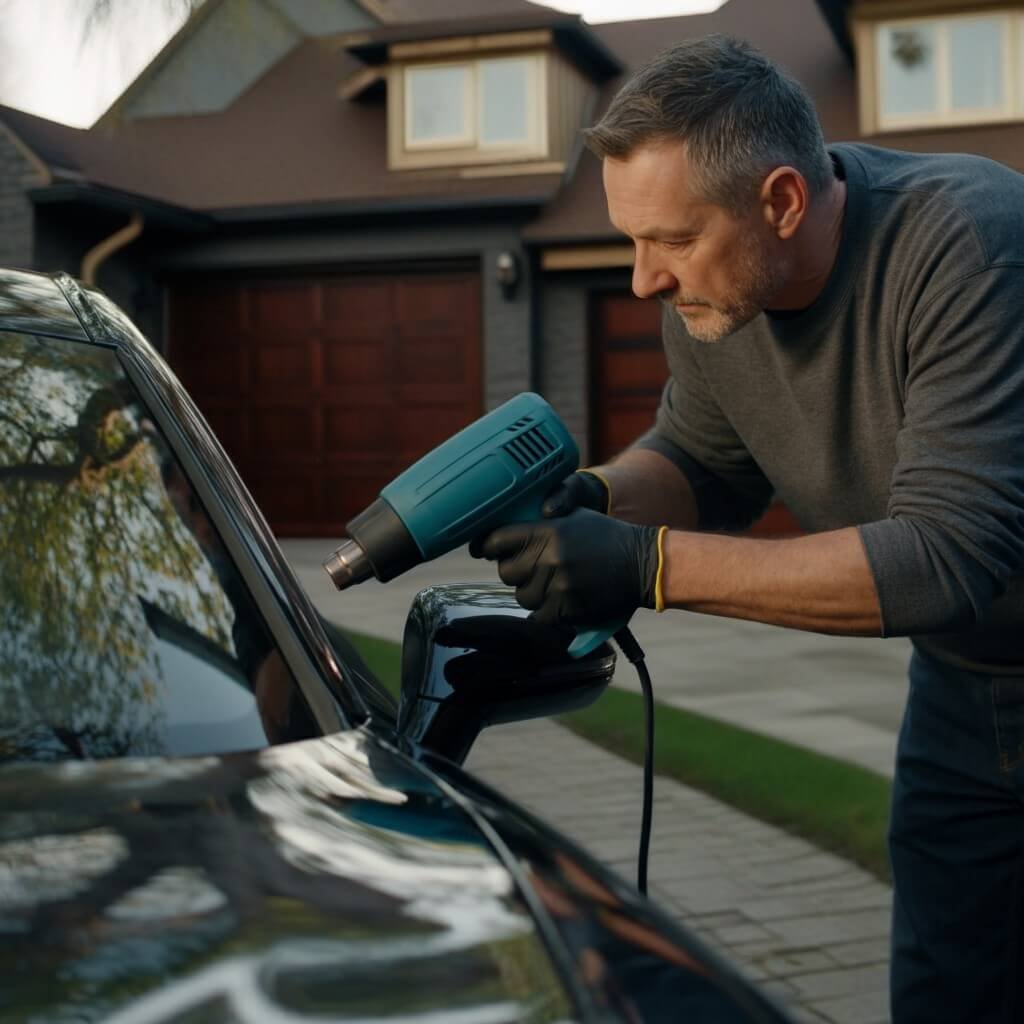
- Heat Gun or Hair Dryer: Unfortunately, we aren’t cooking up a storm here! However, some gentle heating can work wonders, helping to rejuvenate plastic by expanding it and making it more pliable.
- Plastic Restorer: The market offers an array of commercially available options, but the most effective ones are those containing UV inhibitors. These handy additions work to keep the sun’s harmful rays at bay, ensuring your recently restored plastic continues to shine!
- Soft Cloths: When it comes to the application process, you need a gentle touch. Microfiber cloths are the gold standard, providing a tender touch that won’t scratch the surface of your precious plastics.
- Sandpaper (optional): If you’re wrestling with severely damaged or stubborn plastics, keeping a stock of fine-grit sandpaper for some light sanding is advisable.
Now that we understand what we’re working with and have our tools in hand, it’s time to dive into the real meat of the process – the restore!
Working Through the Restoration Process
- Wipe Away the Past – Cleaning the Surface
Buckle up and start your engines because it’s time to tackle that worn-out plastic! Your first step is a critical one: apply your plastic cleaner to the faded surfaces to banish any dirt, grease, or lingering remnants of old products. As tempting as it may be to rush through this stage, remember – patience is a virtue! Thoroughly wipe down the surface with a fresh cloth until it’s spotless – after all, you wouldn’t want to restore a dingy surface, right?
- Turn Up the Heat – Warming Up the Plastic
Once your plastic parts are squeaky clean, it’s time to grab your heat gun or hair dryer. Set it to a low setting and gently warm the plastic. Be sure not to cross into ‘melted mess’ territory – a touch of warmth is all it takes! You’ll notice that the plastic becomes more flexible and receptive to the restorer – the perfect canvas for our next step.
- Let the Magic Happen – Applying the Plastic Restorer
This is where the true transformation begins! Apply the plastic restorer using a clean microfiber cloth, working it in with circular motions. It’s almost like you’re treating your car to a little ‘spa day’. Allow the restorer to soak in for about a minute before wiping away any excess. At this point, you might feel the urge to jump up and down with joy, because the difference you’ll see can be quite dramatic!
- Smoothen the Edges – Optional Sanding
Despite your best efforts, there might be some areas that are still looking a little rough around the edges. Fear not – it’s time to whip out your fine-grit sandpaper to gently buff out those stubborn scratches and imperfections. Remember: less is more! You’re aiming for a refinement here, not a complete overhaul.
- Take a Step Back – Admire the Results
You’ve cleaned, warmed, restored, and polished. It’s time to step back and admire your hard work! That lackluster plastic should now gleam with a shine so radiant, it could rival a top-tier showroom. You can almost imagine your friends’ jaws dropping as they take a tour of your transformed pride and joy (feel free to snap some before and after pictures to really boost the ‘wow’ factor!).
Beyond the Restore: Maintenance is Key
Now that you’ve seen how spectacularly your plastics can shine, you’ll want to maintain that glossy, new-car finish. One of the best ways to do this is by applying a UV protectant frequently. Much like how you’d use sunscreen to protect your skin from harmful UV rays, a UV protectant will shield your newly restored plastics from fading in the future. Your car (and your wallet) will thank you!
Final Thoughts
Restoring vehicle plastics is not just about boosting your car’s aesthetic appeal; it’s about taking pride in your ride, adding value to your investment, and savoring the deep satisfaction that comes from completing a DIY project. So, what are you waiting for? Gather your supplies, line up your favorite tunes, don your gear, and get started on this fantastic, gratifying process! And remember — much like a thrilling road trip, it’s not just about the destination; it’s about the journey. Happy restoring!